Tag

bari studio

Friday Form Fanatic– Foldover on the Barre!

By | Blog


Foldover on the barre can be uncomfortable as we all know! It takes strength and proper body positioning to ease through a full set of seat work during this exercise! This post will help guide you to a standing- leg ache free class!

The set up is the most important part– start leg distance away from your barre. Then place both feet under each hip, so your feet are parallel and hip distance apart! Then you simply soften both knees, and hinge over your legs while bending at the waist! “What helped my form improve was placing my hands at my groin and hinging over my hands”- Stephanie Bristow! It is important your start with a neutral spine and engaging your core, preventing a tuck or an arch- this keeps your spine fully protected and prevents back injuries! As you hinge, you will place your hands wide onto the barre. Starting the work in your right glute, soften your left knee and extend your right leg behind you and lifting your straight leg until your glute engages. 

You will then shift your right hip down, place all body weight into your right palm of your hand and by the inner sole of your left foot! As you are shifting weight to your right palm, your left hand will actually be holding your weight and prevents extra body weight and tension in your left hip and standing leg! 

Core strength plays a major key in preventing injury and allowing proper shift of body weight so that you can ease your way through this seat lifting and shaping exercise! Another key is that your thighs {smaller muscle} have already been fatigued because we always work our thighs in BarreAmped before our seat {larger muscle}. So you always should feel free to reset during foldover on the barre and allow your standing leg {fatigued thigh} to have a quick break so you can keep your focus on your working glute muscles! 

That’s our short & sweet Form Focus for this Friday! We hope your standing leg will ache a little less as your continue your Barre classes at B.YOU™! Have a fabulous weekend!!!

XOXO,


Bubble Duty features- Foldover on the floor!

By | Blog

Fire up your Buns with Foldover on the Floor! 

        Foldover on the Floor is a fabulous exercise for tightening and toning your entire backside, but if it isn’t done right you risk hurting your back! Take these tips to keep your back safe and your seat shaking! 

        When we start out on our elbows and knees check to make sure your knees are under your hips and your elbows are under your shoulders. Make sure you keep pressing your chest away from the floor by connecting your entire forearm down into the mat, not just your elbow to keep the pressure out of your shoulders! 

       Engage your core-set by pulling your abs up and in- this will help keep your lower from arching.  Your leg can be a little higher than your hip since our bodies are on a diagonal but ONLY if you can keep your back from arching as you lift the leg up! Arching the lower back can be uncomfortable but it also takes the work out of your seat- so keep the core-set tight, tight, tight! 

         As you get tired in this exercise you may start to feel the leg that’s on the ground more than the side of your seat you are supposed to be working-! If this happens make sure you shift your body weight onto your working side’s forearm to take of this pressure off that other hip- this will keep you happy and burning! 

Megan is showing us one of the many variations of Foldover over on the Floor using the ball behind the knee to increase the burn in her hamstring (muscle on the back of the thigh) while she works her seat! 

Take these tips to the mat with you next time you are in class to tighten and tone that tush! And of course, if you have any questions, feel free to ask your Inspire-er for more tips!

The Lovely Lunge

By | Blog

The Lovely Lunge

We admit it- It’s a love/Hate relationship with Lunges!

Many clients say they don’t like Lunges because it causes them knee pain, but you should be pain-free in this lower body burner! Follow these form tips to keep your knees happy and your body changing! 

 When we get into this position start with your front foot about 6 inches from the baseboard. Check your front knee and make sure it is directly over your ankle- if this knee is shifted too far forward or back- this can cause you knee pain! 

 Next, bend the back knee and shift it slightly behind your hips as you curl your back toes under- if this knee is shifted too far forward or back from your hips- this can also cause you knee pain! 

 We like to start low to the floor- but if your back leg hip flexor (connector from thigh to abs) is tight your height from the floor may vary. 

 Using the barre for balance, sit up straight keeping a neutral spine We are looking for your shoulders to be right over your hips. Then engage your core-set by pulling your abs up and in as you straighten your spine.

 Last check to make sure your shoulders are back and down away from your ears and hold them there by squeezing an imaginary penny between your shoulder blades the entire time! 


Rashna is showing us in the picture a more advanced option that we have in Lunges for the thighs when we releve’ (lifting the heel) the front foot. When the front foot is in releve’, you will feel the front thigh engage more- but make sure you keep your weight in both feet, because we are working BOTH legs here! 


Lunges can focus on thigh work or Seat work! When the foot is flat- pushing your weight in your front foot heel will engage your seat more on the leg that is forward. Pressing your weight into the entire foot, especially the ball of the foot/toes will engage your thigh more- so be sure to take cues from your instructor on which mind-body connection you should be feeling when you are in class! 

 If you have any questions about Lunges- be sure to see your instructors before or after class for tips! We are always happy to help you keep shaking and changing @ B.You™!

Form Friday- Wide 2nd {classic barre move}

By | Blog

Form.Form.Form!

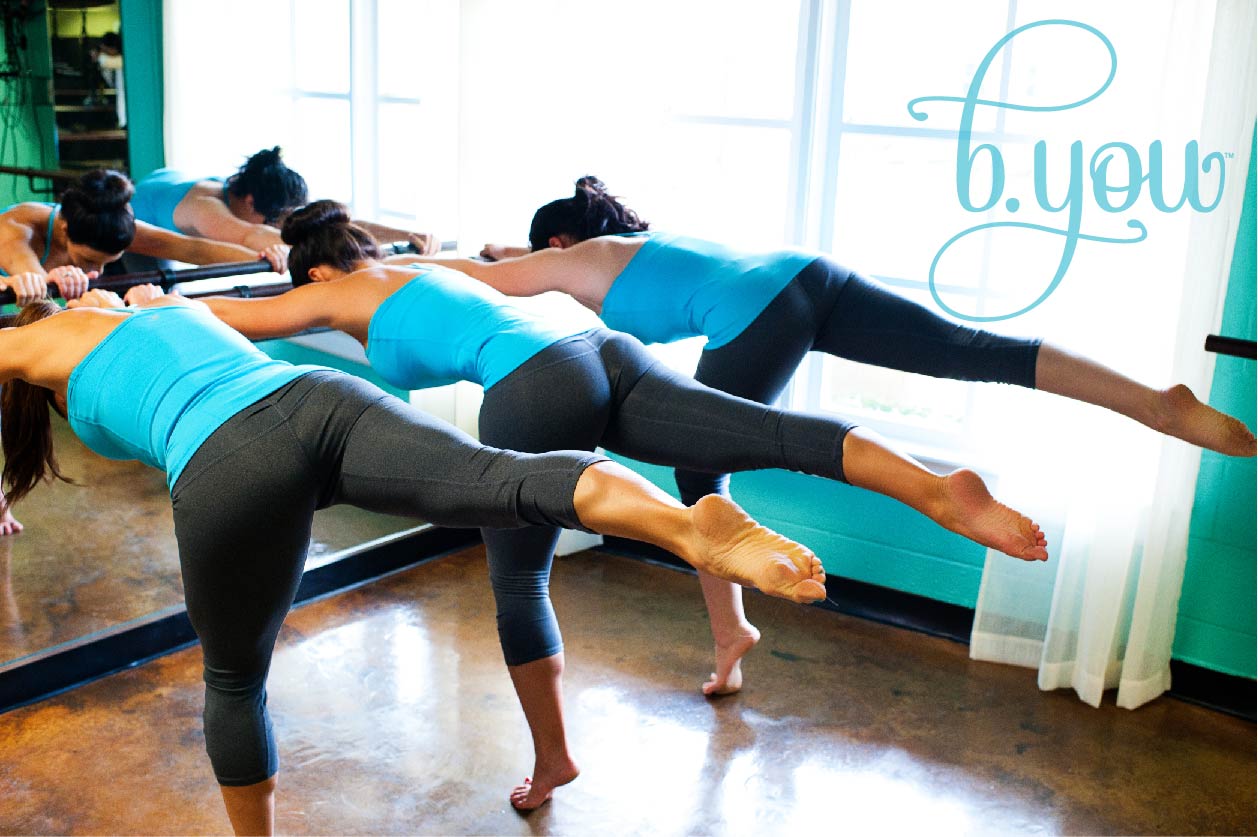
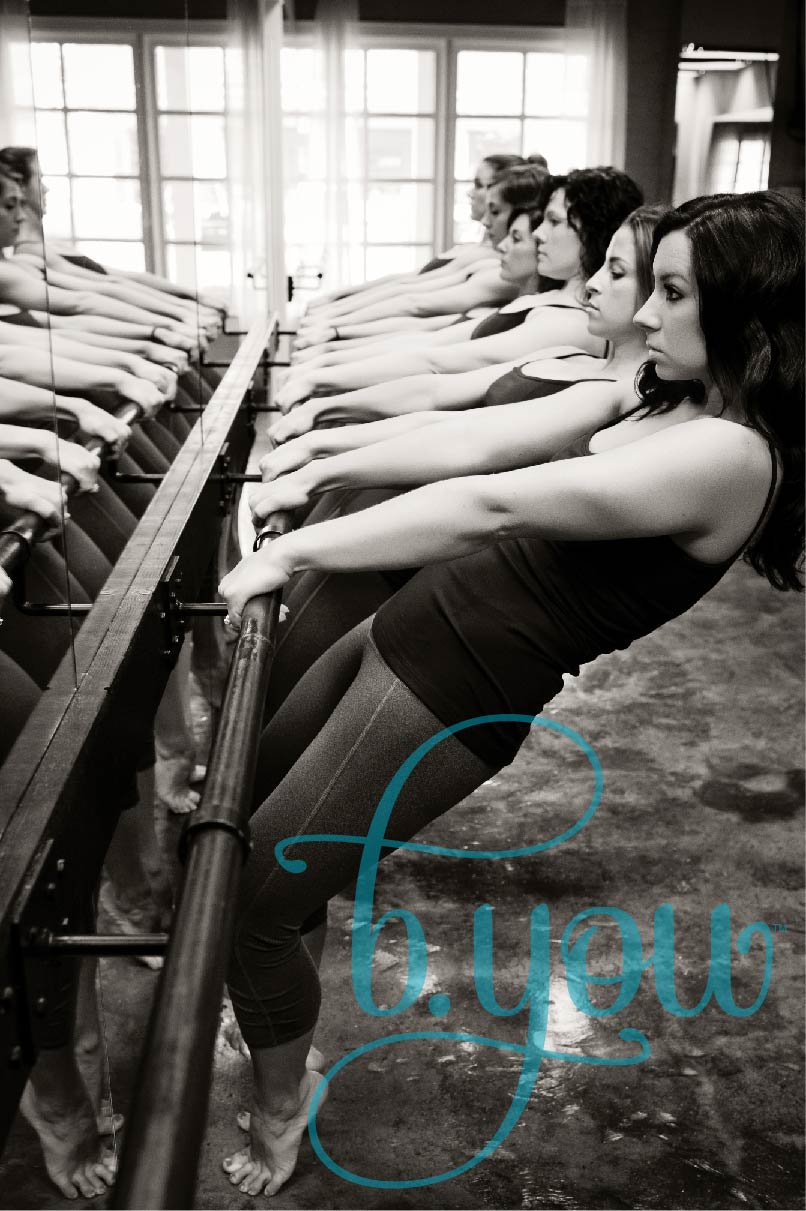
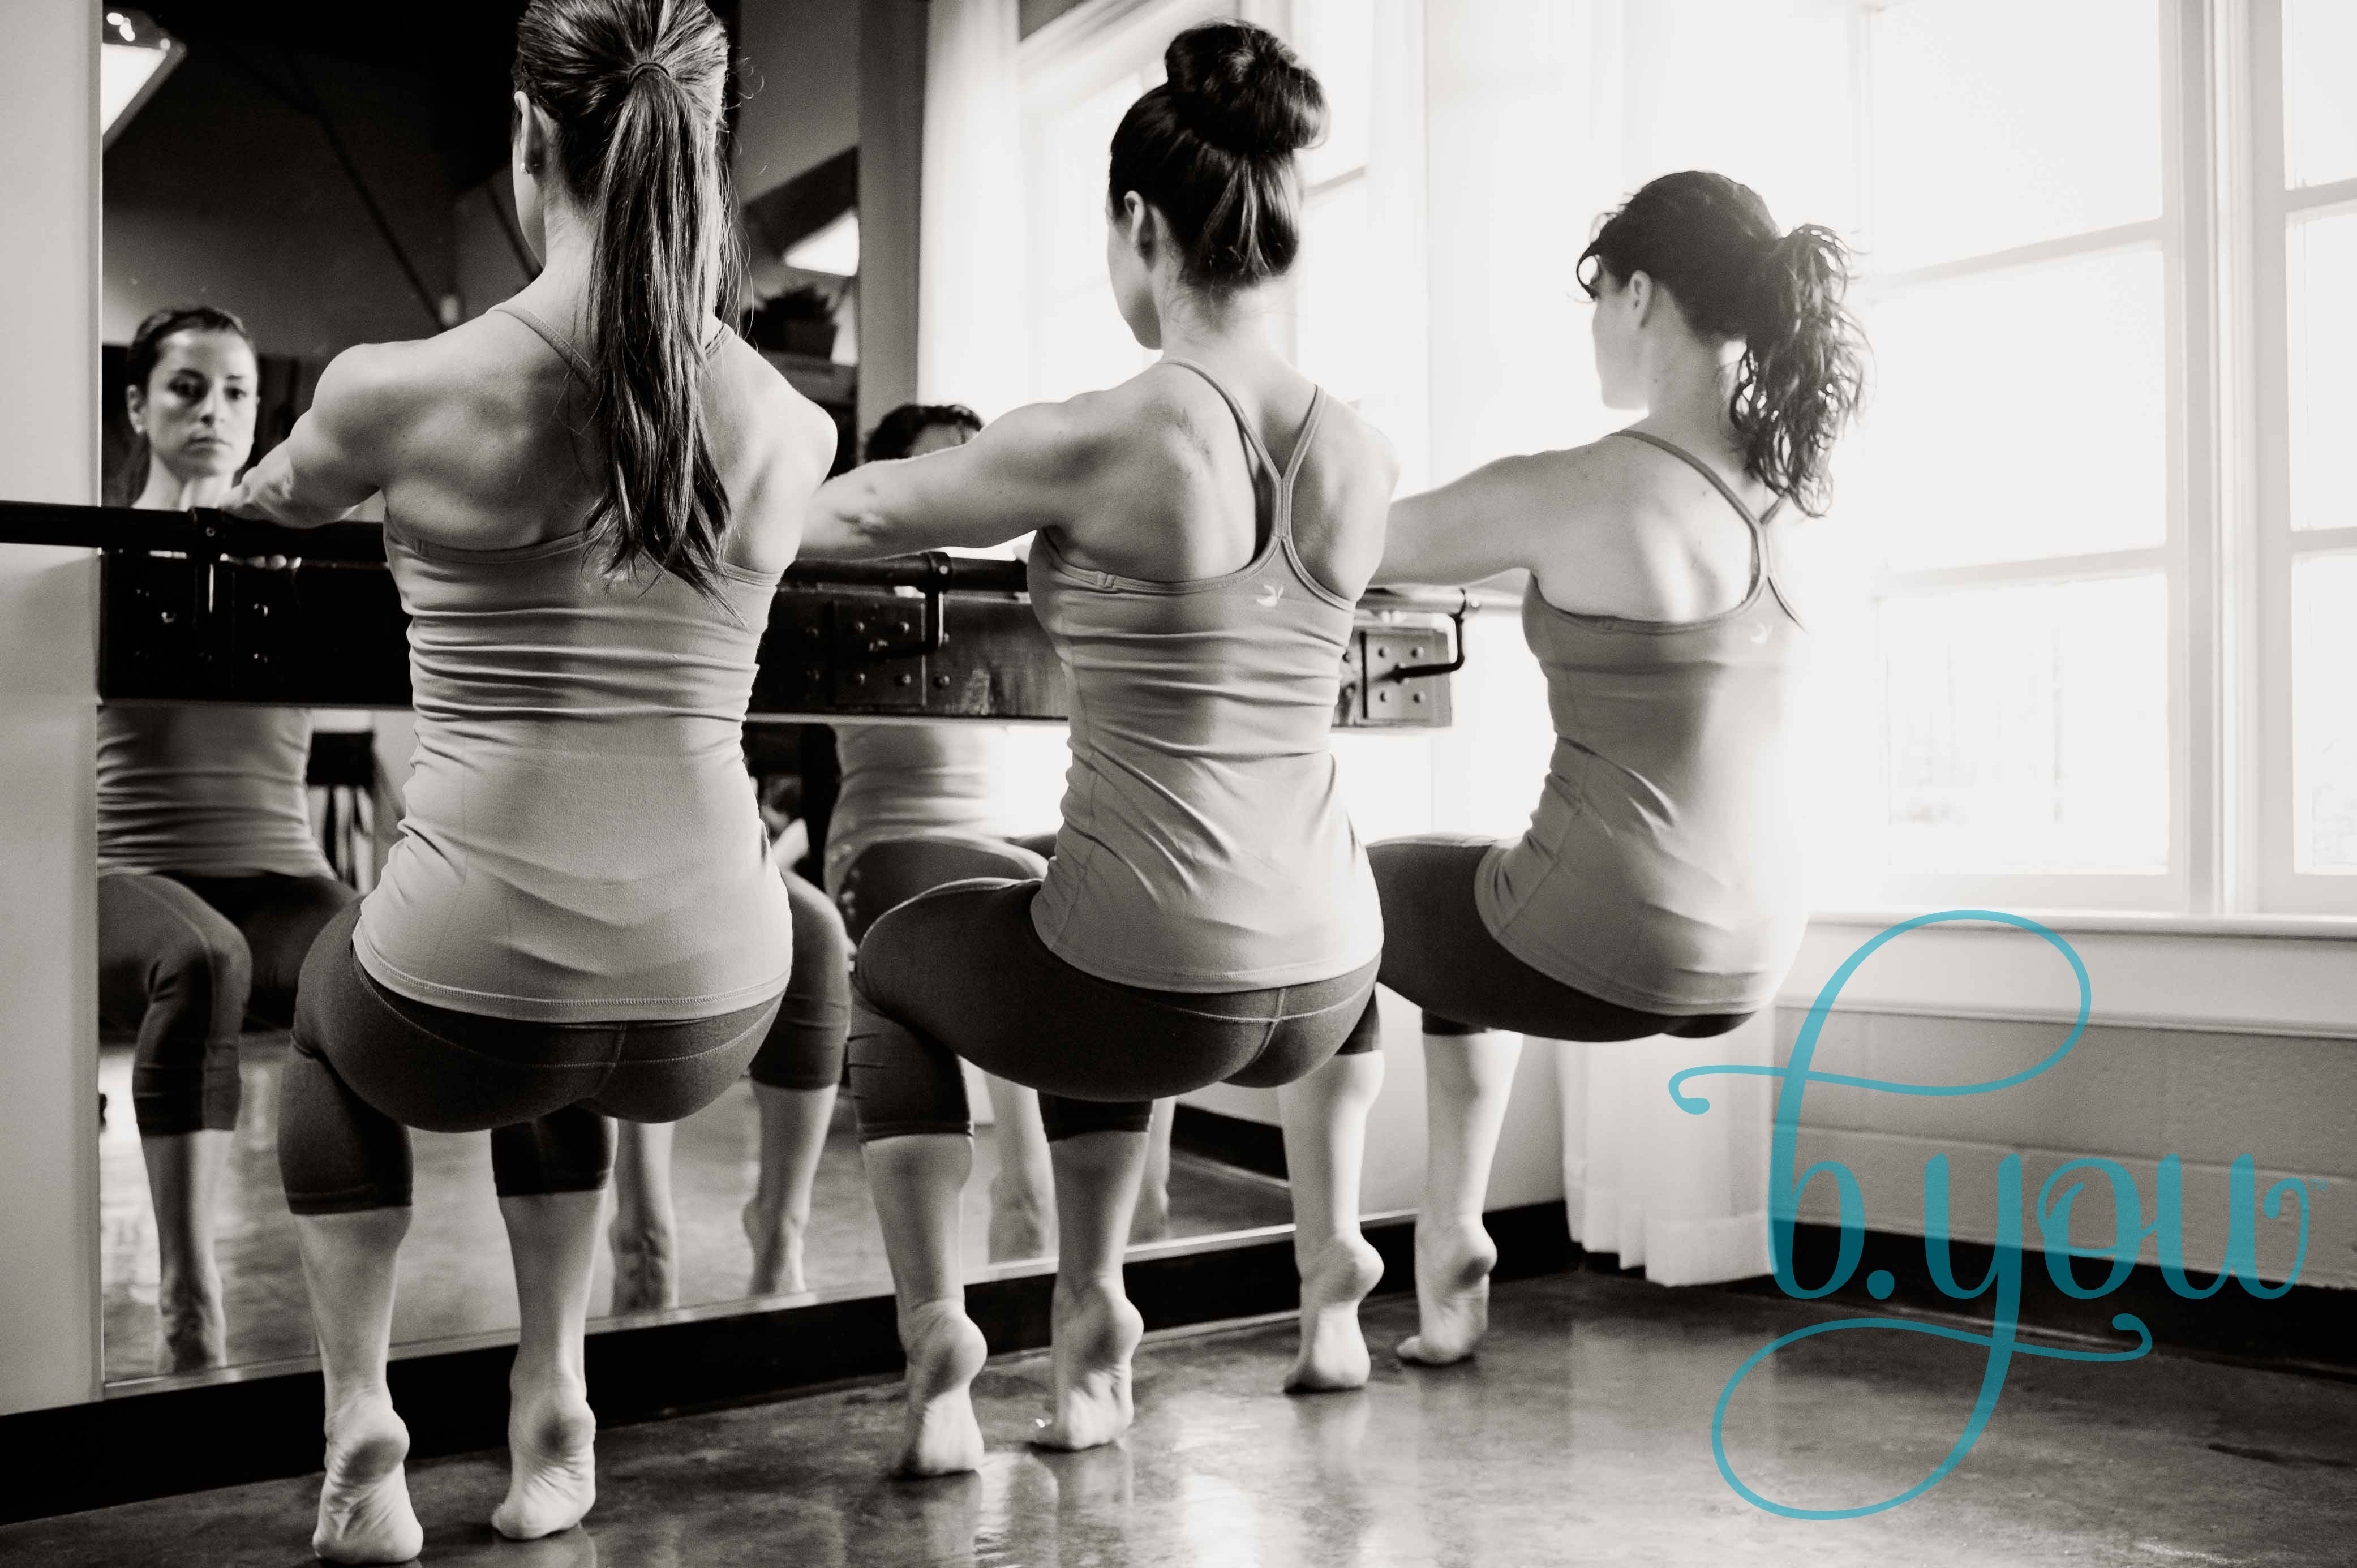
Form is key and the absolute core of our success! At B.YOU we want to properly educate your mind… and then your body will follow! After all, it is the mind-body connection that gets results! Kicking off this Form Frenzy Friday, here are some tips on improving your Wide 2nd position:   

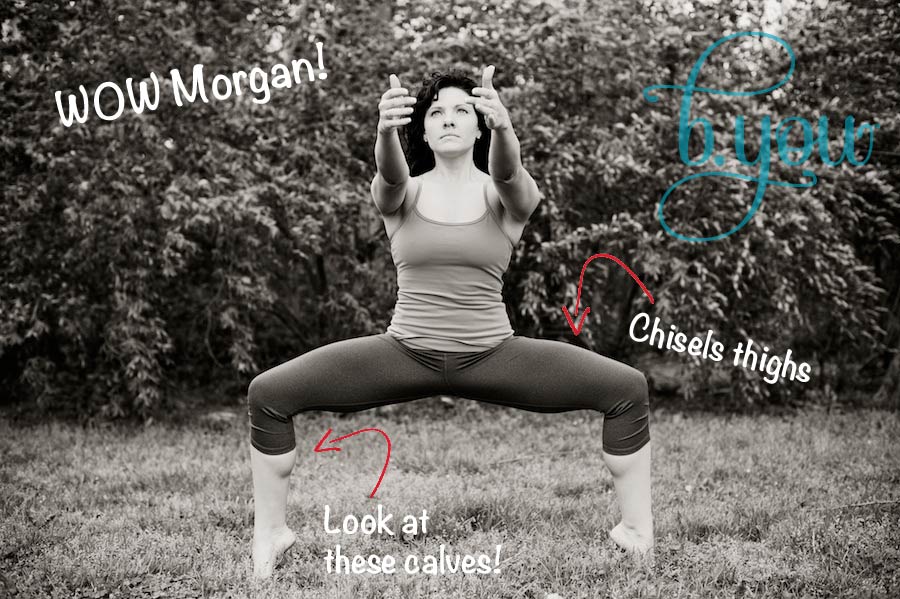
Here Morgan is in an advanced position with her heels raised in high releve. We keep our heels flat during B.Barre I to help you find your position and connect to the muscle groups we are focusing on {inner, top, & outter thighs}.  Knees stay directly over your ankles, and weight stays in your big and second toes.  

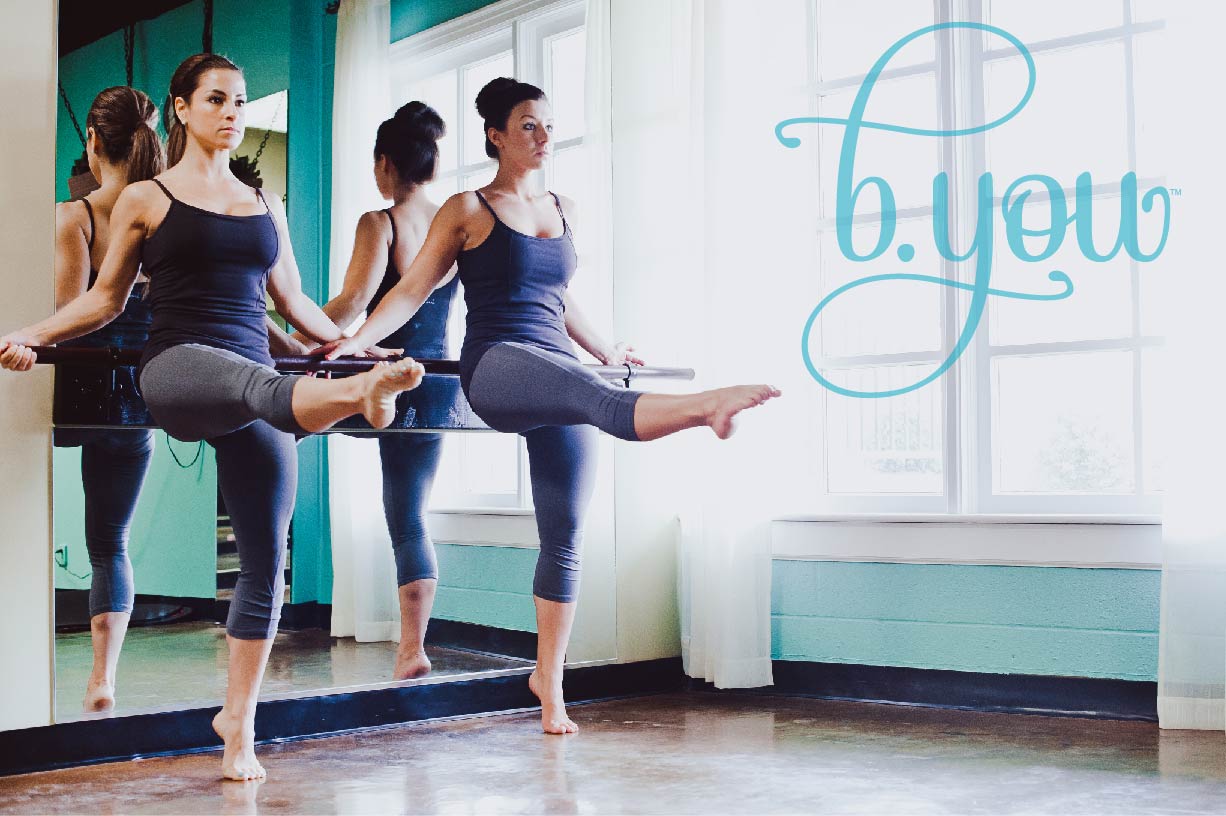
Tip: A lot of us gals are tight in our hip flexors and in our groins {adductor magnus}. This can make it difficult to properly set up into Wide 2nd. If you are tight in these areas, your knees will point forward rather than to the side and it is difficult to keep your shoulders over your hips. To maintain form and prevent injury & obtain an amazing leg workout, simply hinge over slightly so your knees can rotate out, allowing your muscles to now engage {always keep your chin aligned with your pelvis and the back of your head aligned with your tail bone}! As your flexibility increases, your chest will raise and shoulders will be aligned with your hips! 

———————————————————————————–

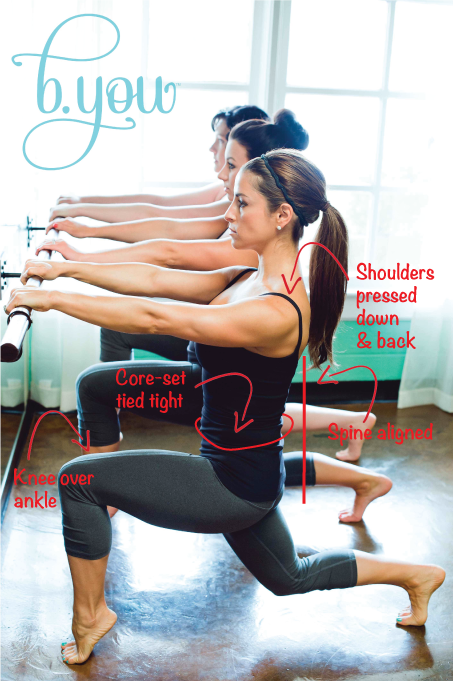
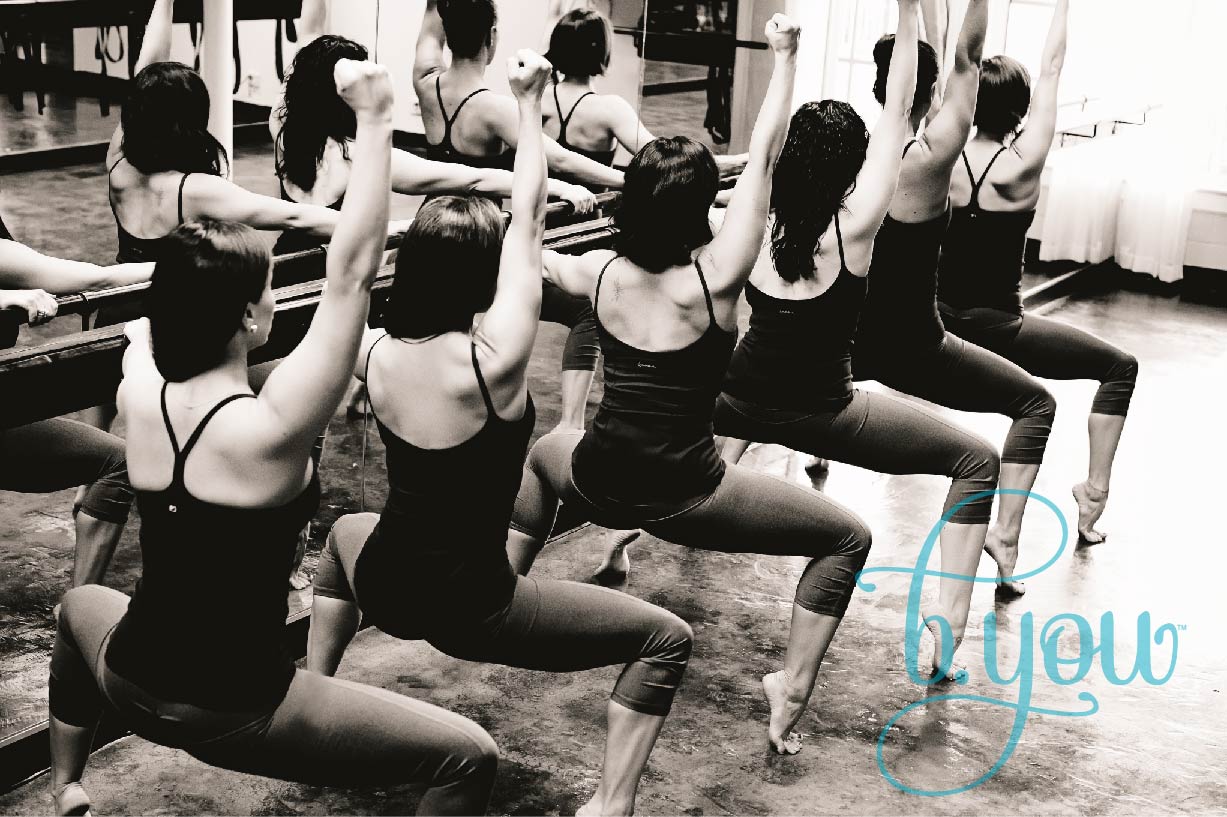
Just like every exercise in every B.YOU class, your abdominal muscles (a.k.a. your corset), should be contracted.   A strong core will protect your entire body!

 ————————————————————————————

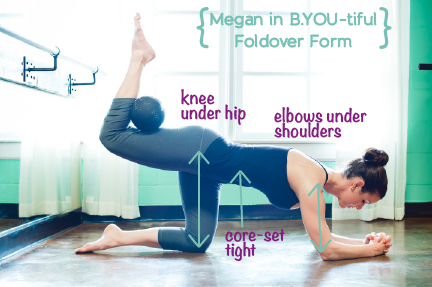
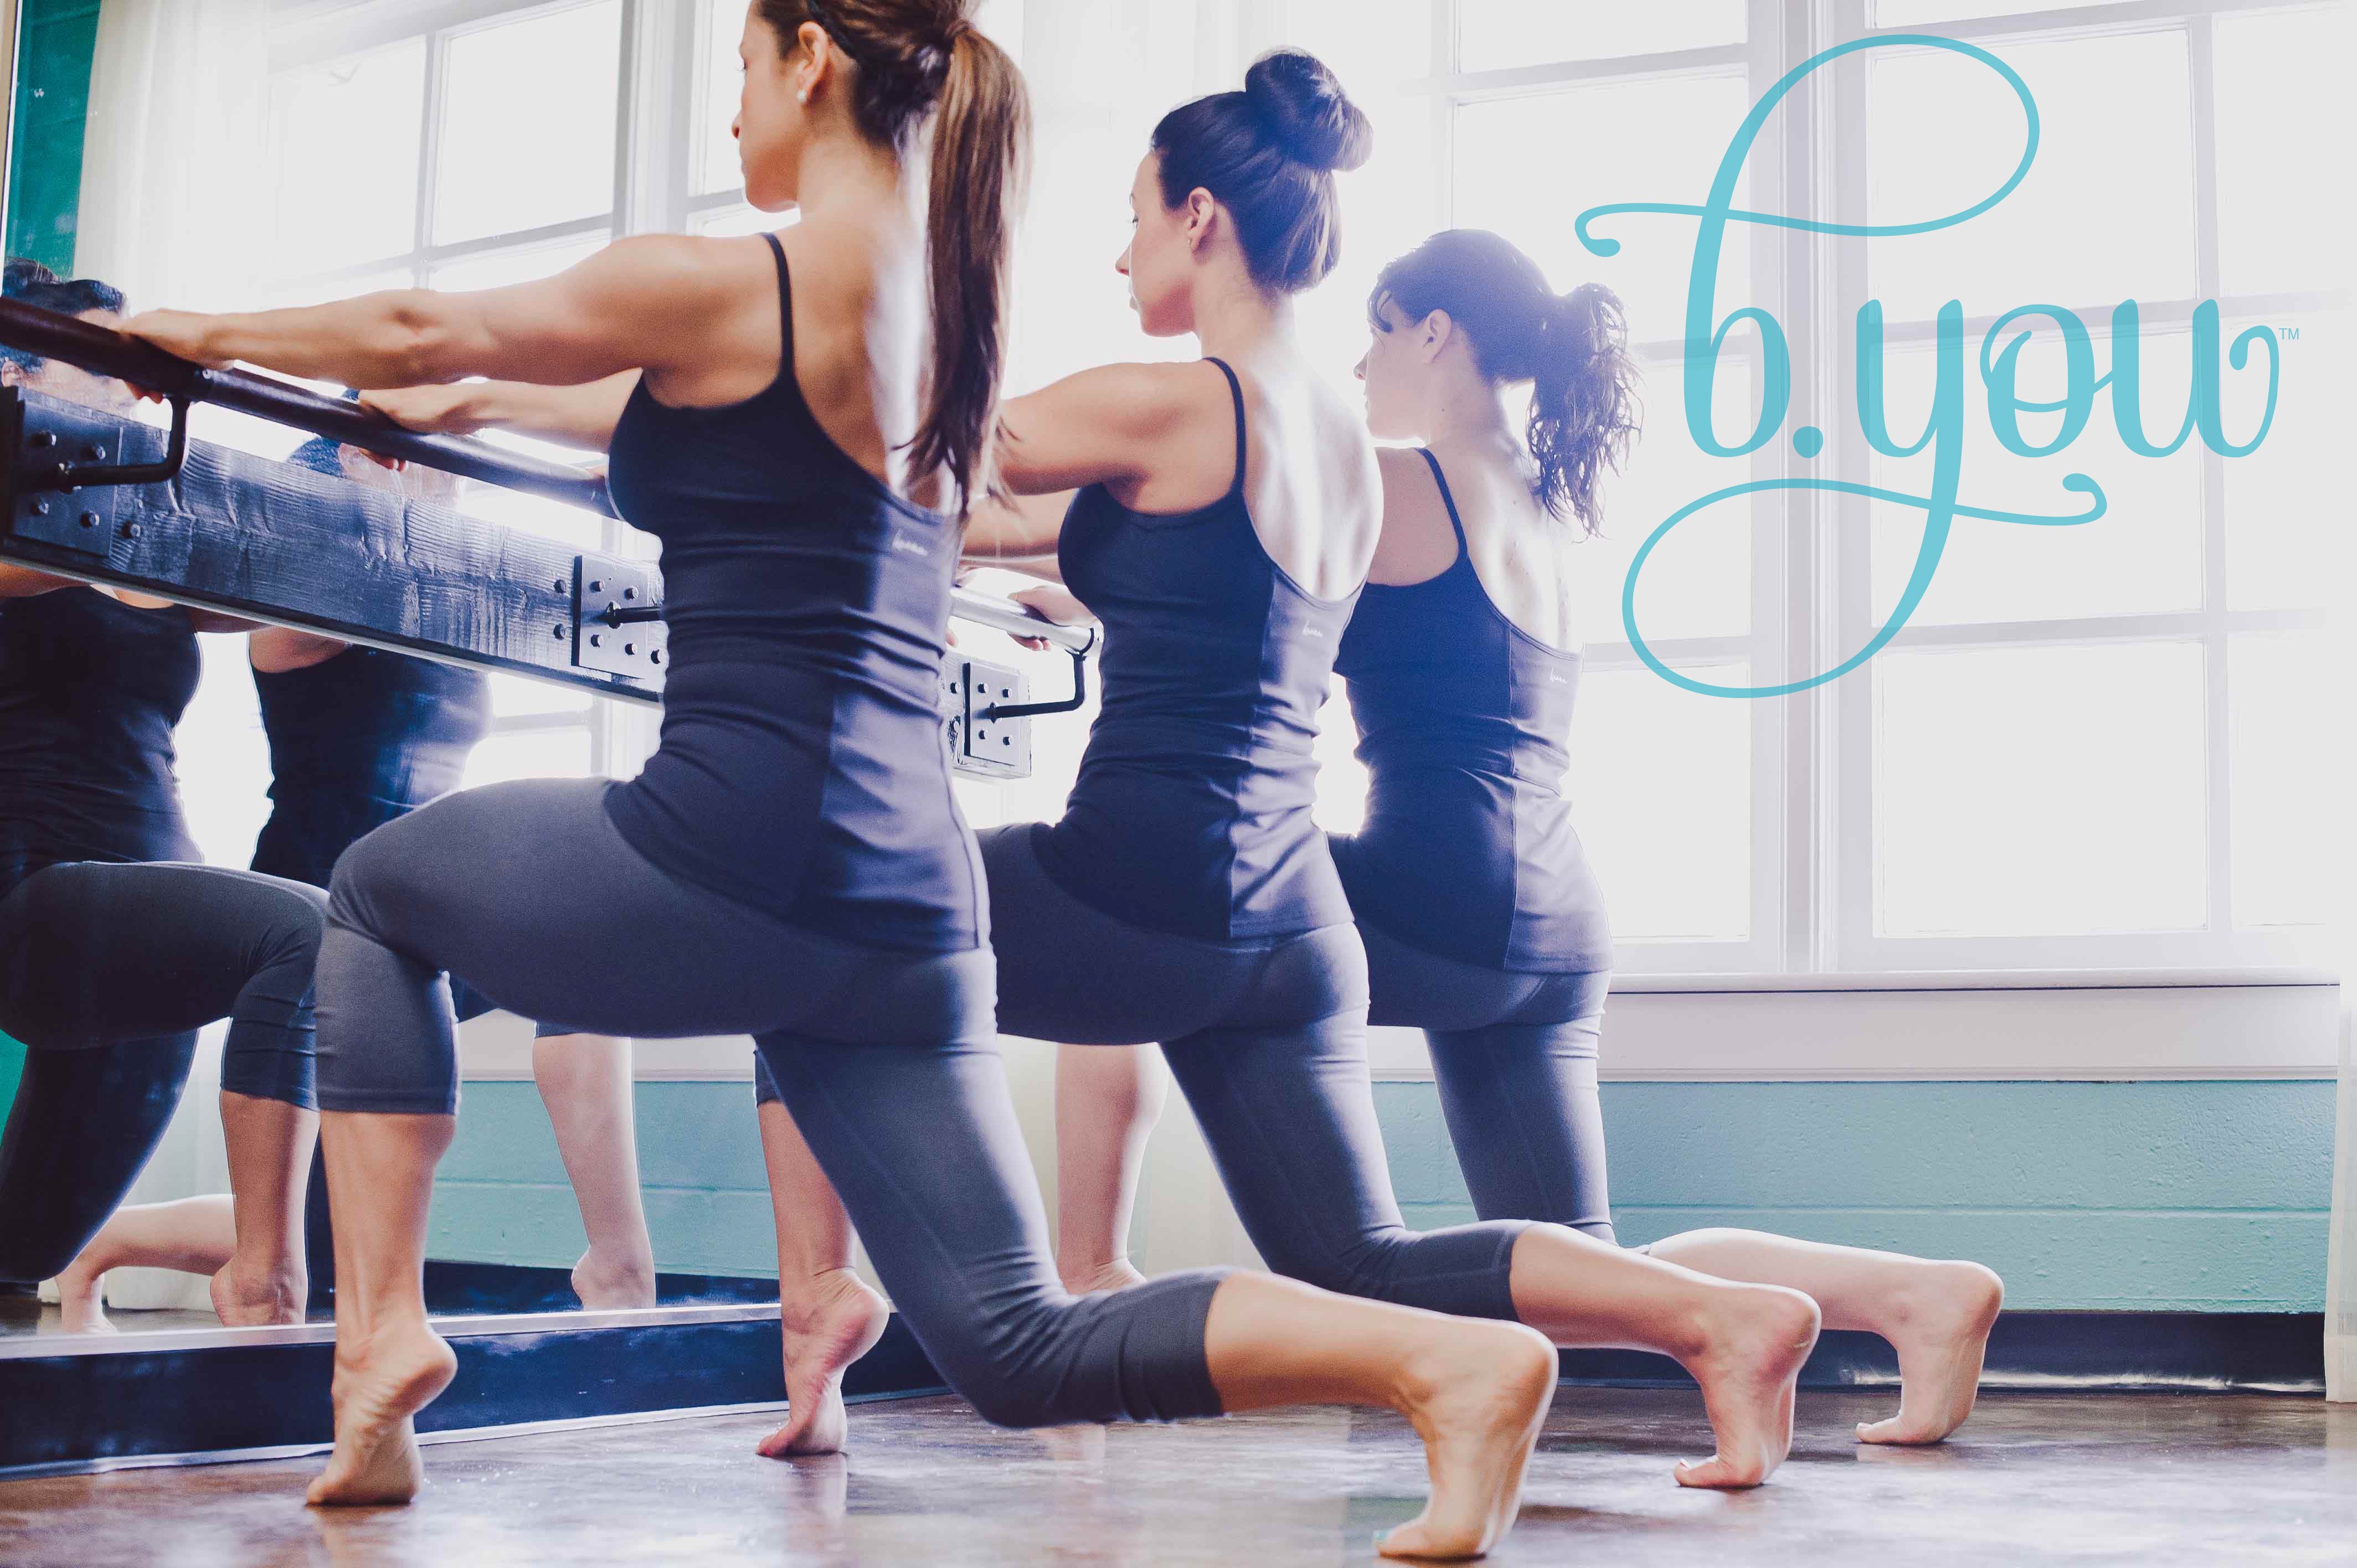
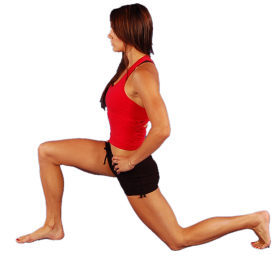
Here is a great stretch to help stretch your hip flexors.  Be sure your front knee is directly above your ankle to prevent injury.  Reach your back leg behind you, squaring your hips and melting down into your hip flexor.  

Always come in before class or stay after, and we will be more than happy to work with you on your form!

Happy Friday 🙂


“Only 8 more seconds”-B.Strong

By | Blog


We want to introduce you to come thigh work! One of our favorite Barre Lessons just happens to be #2: 

“This is not supposed to be easy. Speaking of leg shaking, B.Barre is not an easy workout and it doesn’t get easier. When you are having a particularly difficult time, normally during the THIGH exercises, repeat this to yourself over and over: “This isn’t supposed to be easy.”


B.Driven     B.Inspired     B.Strong